
In this two part blog, we are going to walk through the process of creating a custom integration with Torii. In this blog, we’ll go through the basics which I will demonstrate using Postman and in the second blog, we will demonstrate using a Google Sheet to sync directly with Torii.
- Creating an API Key
- Creating an Application Account ID
- Postman Overview
- Verifying your Custom Integration
Creating an API Key
In order to do a custom integration, we will need to create an API Key within Torii.
- Log into your Torii Admin Console
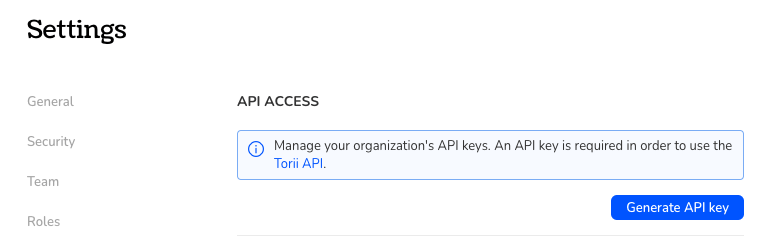
- Click on Settings -> API Access
- Click the “Generate API Key” button on the right
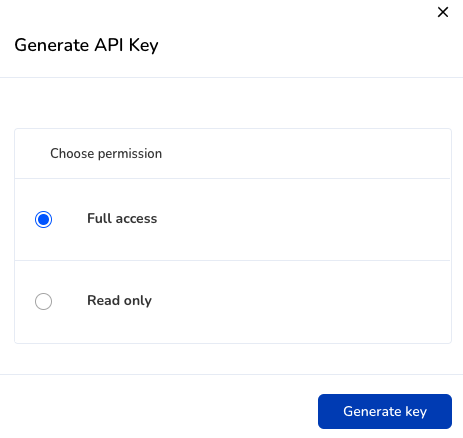
- Select Full access and click Generate Key
- Copy the key to somewhere safe as you won’t be able to retrieve it later.

Creating an Application Account ID
In this step, we are going create an Application ID that we can use in Postman for this custom integration.
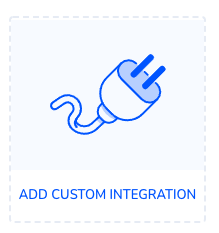
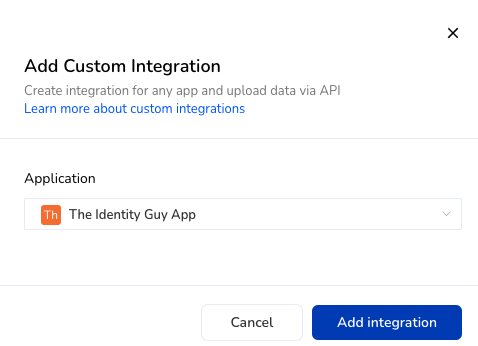
- In the Integrations Tab, Click “Add Custom Integration”
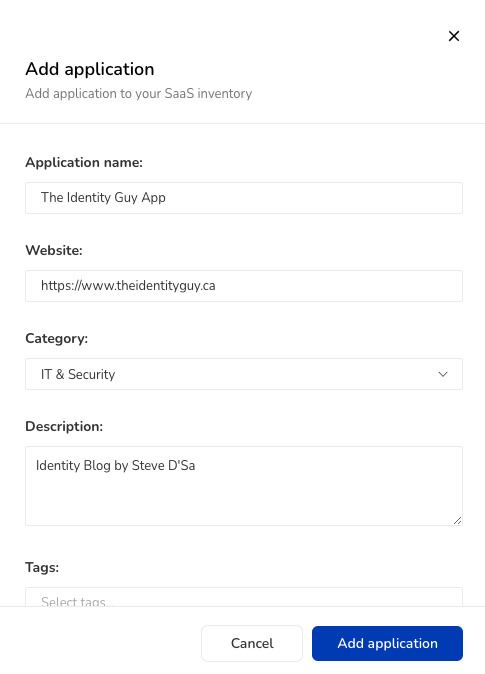
- When you add a custom integration, you have the option to select an application that currently exists within Torii or you can create your own. In this example, I will create my own:
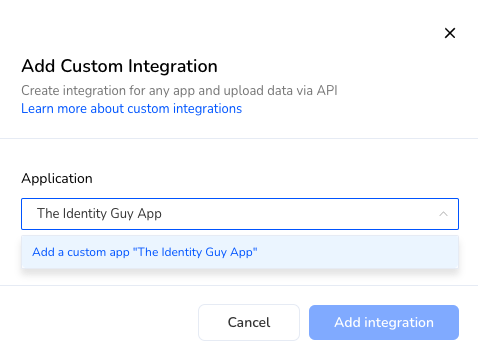
- When adding a custom application, you are required to add some additional information and then click Add Application
- Now you can click Add Integration
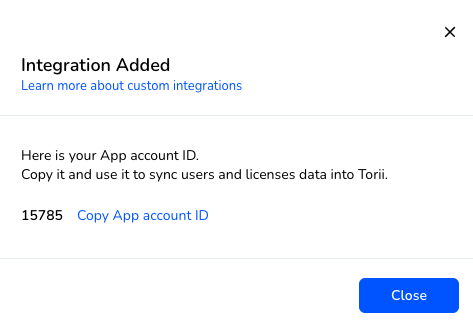
- You should now be presented with your Application Account ID.
Postman Overview
This blog assumes you have a basic understanding of Postman as we will not go through the process of installing or configuring Postman.
There are 4 Parts to the Custom Integration Process:
- Getting a File URL and File Path
- Uploading your JSON File
- Getting your File ID
- Syncing the Integration.
You will need to upload a JSON file to the Torii Servers. When uploading the JSON file, you will need a unique URL every time. Once you’ve uploaded the file, you will get a File ID that can be used to trigger the sync.
Step 1 – Getting a File URL and File Path.
- Select “GET” as your HTTP Method.
- Enter the URL: https://api.toriihq.com/beta/files/url?name=my_file.json&type=customIntegrationData
- Under Authorization, select “Bearer Token”
- In the Token Field Paste your Torii API key we generated earlier.
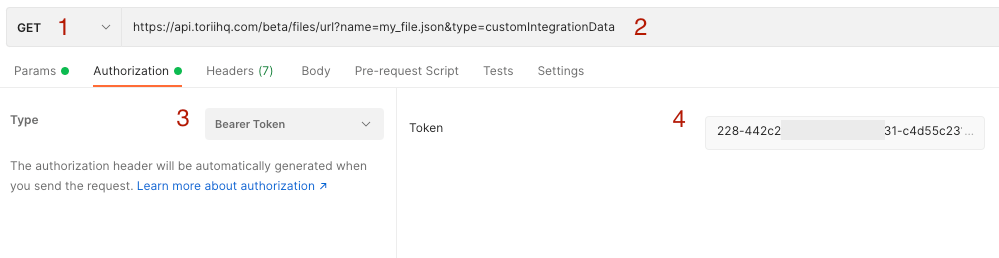
- Click Send
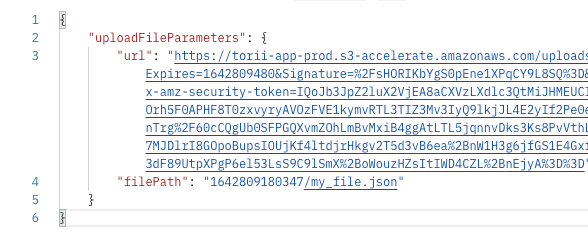
- In the Response, you will see both a “url” and a “filePath”. We will need both these in later steps.
Step 2 – Uploading your JSON File
In this step you need to prepare your JSON file using whatever tools or utilities of your preference. In this Postman example, I’m going to use a raw JSON message in the body of the post. You can find the schema of the JSON file at https://api.toriihq.com/beta/docs. The schema allows you to specify extra attributes such as Roles and the Last Used Date. In the licenses section, you can specify extra information such as an unassigned license block and the price per user.
{
                    "users": [
                      {
                        "email": "steve@theidentityguy.net",
                        "firstName": "Steve",
                        "lastName": "Bradley",
                        "status": "active",
                        "externalStatus": "Active",
                        "roles": ["Admin", "Super admin"],
                        "lastUsedDate": "2021-11-04T20:43:14Z"
                      },
                      {
                        "email": "shahbaz@theidentityguy.ca",
                        "firstName": "Shabaz",
                        "lastName": "Khalid",
                        "status": "active",
                        "externalStatus": "Active",
                        "roles": ["Member"],
                        "lastUsedDate": "2021-11-04T14:43:14Z"
                      },
                       {
                        "email": "rajiv@theidentityguy.ca",
                        "firstName": "Rajiv",
                        "lastName": "Menon",
                        "status": "active",
                        "externalStatus": "Active",
                        "roles": ["Member"],
                        "lastUsedDate": "2021-11-04T14:43:14Z"
                      }
                    ],
                    "licenses": [
                      {
                        "name": "Pro",
                        "unassignedAmount": 10,
                        "users": [
                          {
                            "email": "steve@theidentityguy.net",
                            "licenseStatus": "active",
                            "lastUsedDate": "2021-11-04T14:43:14Z"
                          }
                        ],
                        "pricePerUser": 15000
                      },
                      {
                        "name": "Guest",
                        "unassignedAmount": 20,
                        "users": [
                          {
                            "email": "shahbaz@theidentityguy.ca",
                            "licenseStatus": "active"
                          },
                          {
                            "email": "rajiv@theidentityguy.ca",
                            "licenseStatus": "active"
                          }
                        ],
                        "pricePerUser": 20000
                      }
                    ]
}
- Select “PUT” as your HTTP Method.
- Enter the URL that you received in the previous step
- Paste your JSON (Select RAW radio button)
- There is no Authorization Header required for this step as the URL received in the previous step includes the authorization. Click Send

- You should receive a 200 OK response.
Step 3 – Getting your File ID
In this step you are going to need the File Path which was returned in Step 1 to obtain a File ID.
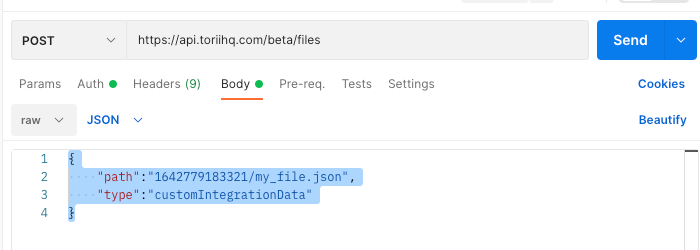
- Select “POST” as your HTTP Method.
- Enter the URL: https://api.toriihq.com/beta/files
- Under Authorization, select “Bearer Token”
- In the Token Field Paste your Torii API key we generated earlier.
- In the body you are going to post the PATH which was returned in Step 1 and the Type (customIntegrationData)
{
    "path":"1642779183321/my_file.json",
    "type":"customIntegrationData"
}
- Click Send
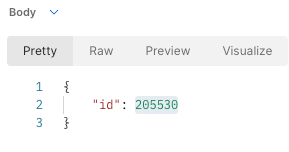
- In the response, you should see an ID returned
Step 4 – Syncing the Integration.
In the last and final step, you will need the Application Account ID that was created in Torii and the File ID from Step 3.
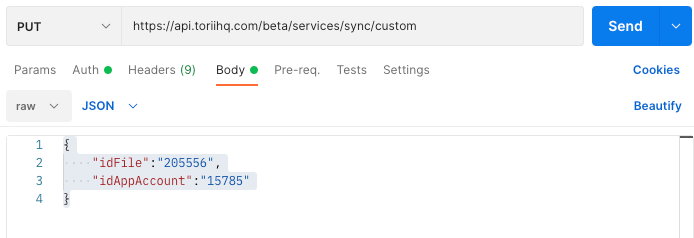
- Select “PUT” as your HTTP Method.
- Enter the URL: https://api.toriihq.com/beta/services/sync/custom
- Under Authorization, select “Bearer Token”
- In the Token Field Paste your Torii API key we generated earlier.
- In the body you are going to put the File ID which was returned in Step 3 and the Application Account ID which was created in the previous step.
{
    "idFile":"205556",
    "idAppAccount":"15785"
}
- Click Send
- You should receive a Success: true response.
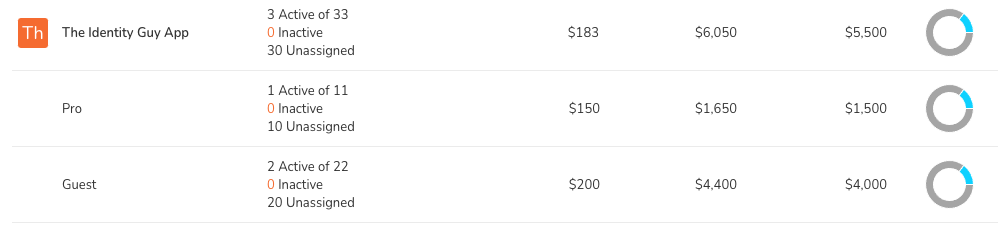
Verifying your Custom Integration
In Torii, under the Licenses Tab, you should now see your custom integration
In the Users Tab, you should see your Users.


One thought on “Adding a Custom Integration with Torii – Part 1: Using Postman”
Comments are closed.