If you have configured Mobile SSO for IOS or you looking at configuring Mobile SSO but would rather use your own CA instead of using the built-in CA within Workspace ONE UEM – this blog will walk you through the steps to configure this in your lab environment.

In this blog I’m going to make multiple reference my previous blog on Setting up a 3rd Party CA with Workspace ONE.
Disclaimer: These instructions will guide you through the process of setting up your CA in a lab environment. Please consult professional services for anything on production.
This blog assumes that you already have Active Directory Certificate Services already installed and configured.
A Workspace ONE UEM Cloud Connector is required for this configuration.
- Creating a Service Account
- Creating a Certificate Template
- Exporting your Root CA Certificate
- Creating a New Certificate Authority in Workspace ONE UEM
- Creating a New Certificate Template in Workspace ONE UEM
- Download KDC Certificate
- Creating your Device Profile
- Configuring Workspace ONE Access
Creating a Service Account
Follow the Steps on Creating a Service Account. If you followed my previous blog you can use the same service account for the Mobile SSO certificate.
Creating a Certificate Template
- On your Windows Active Directory Certificate Services server, open Certification Authority.
- Right Click on Certificate Templates and Click Manage
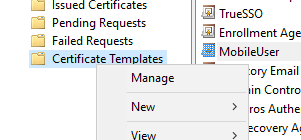
- Locate the “Kerberos Authentication” template and Right mouse and Select Duplicate Template

- Provide a Name for the Certificate (Don’t use any spaces in the template name) and uncheck “Publish Certificate in Active Directory”
Note: If this box was checked, certificates will be created in the service account used to enroll certs.
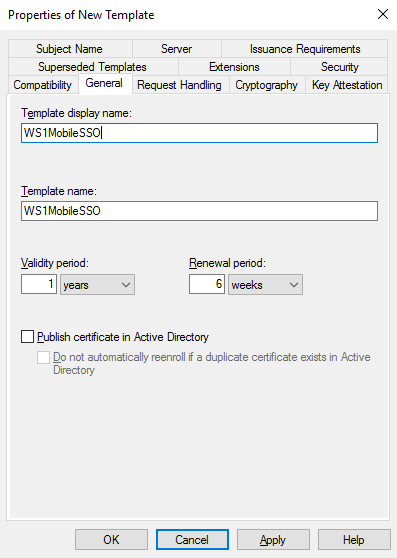
- Click OK
- Right mouse on the new template and click Properties
- Go to the Security Tab and assign the service account the ‘Read’ and ‘Enroll’ permissions
- Click Subject Name Tab and Select “Supply in the Request”
- Select OK to the Warning and Click OK again.
- Click on the Extensions Tab
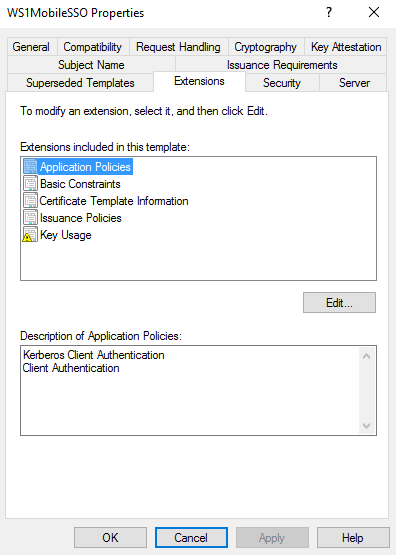
- Click Edit for ‘Application Policies’
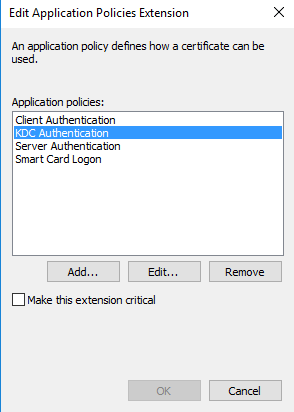
- Remove:
- KDC Authentication
- Server Authentication
- Smart Card Logon
- Click Add
- Click New
- In the Name, enter “Kerberos Client Authentication”
- In the Object Identifier, enter “1.3.6.1.5.2.3.4” (Delete any OID’s that are pre-populated)
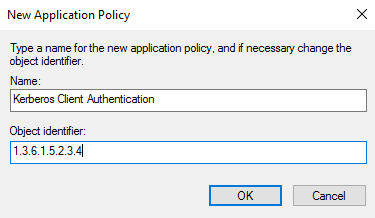
- Click OK and OK again. Do not make the extension critical.

- Click OK to save your template.
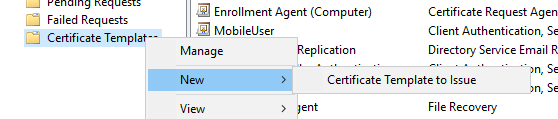
- Go back to the Certificate Authority application
- Right mouse Certification Templates and Click New -> Certificate Template to Issue
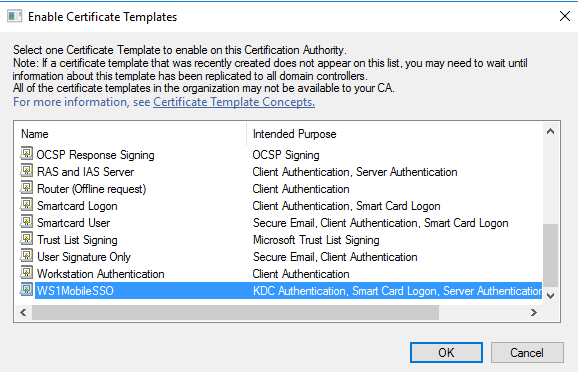
- Select your new certificate template and Click OK
Export your Root CA Public Certificate
Follow the steps on exporting your Root CA Cert.
Creating a New Certificate Authority in Workspace ONE UEM
Follow the Steps on Creating a Certificate Authority in Workspace ONE UEM. If you followed my previous blog on creating a certificate authority you don’t need to create a new CA in UEM.
Creating a New Certificate Template in Workspace ONE UEM
- Click on the Request Templates Tab in Certificate Authorities (Workspace ONE UEM Administration Console, go to Devices -> Certificates -> Certificate Authorities)
- Click Add
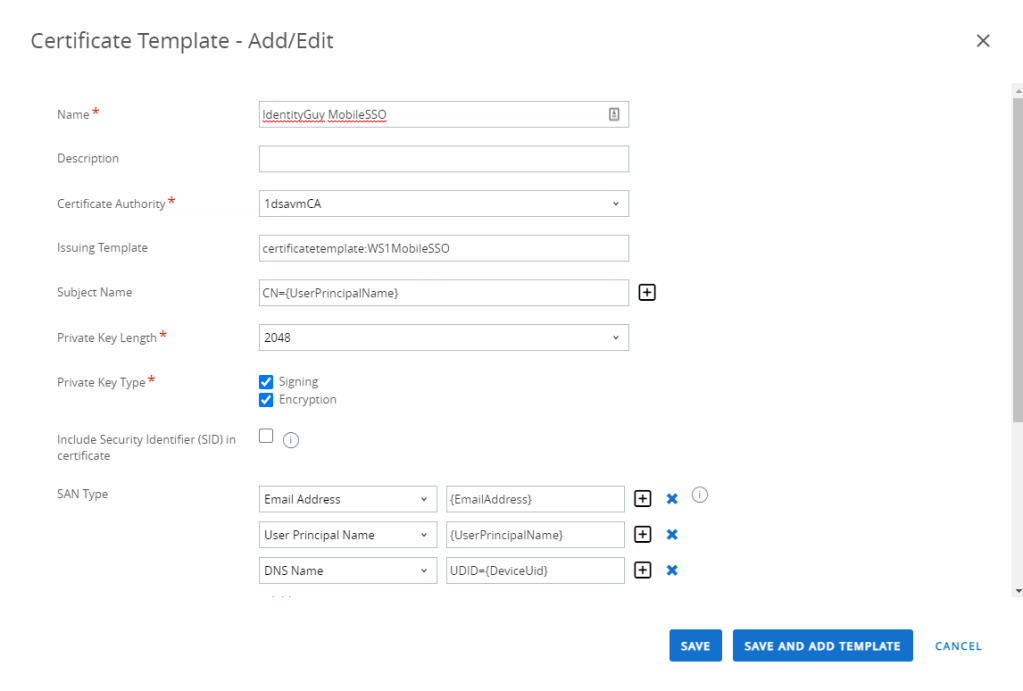
- Provide a Name for the Template
- Select your Certificate Authority which you just created
- Enter your Issuing Template in the following format: certificatetemplate:[ADCS-TEMPLATE]. In my lab, my issuing template would be “certificatetemplate:WS1MobileSSO”.
- Select the Subject Name. In my environment, I’m going to use the UPN as the subject name.
- Select the correct private key length (per your CA settings)
- Select both Signing and Encryption
- Under SAN, add the following:
- Email Address -> {EmailAddress}
- User Principal Name -> {UserPrincipalName}
- DNS Name -> UDID={DeviceUid}
- Select Automatic Certificate Renewal
- Select Name Certificate Revocation
- Click Save
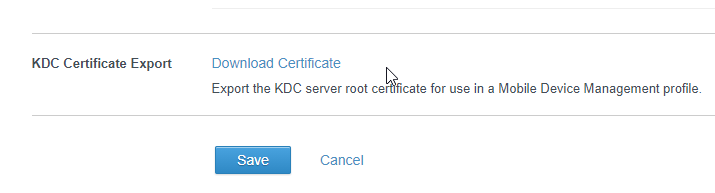
Download the KDC Certificate
- Log into the Workspace ONE Access Console
- Go to Identity & Access Management -> Identity Providers
- Click on your Built-in Identity Provider (this can be the default one or custom built-in provider)
- Scroll to the bottom and download your KDC Certificate.
- Click Cancel to exit.
Creating your Device Profile
- Click on Resources -> Profiles & Baselines -> Profiles
- Click Add -> Add Profile
- Select the Platform for this profile
- Depending on the platform, select Device Profile
- Provide a Name and Assign a Smart Group
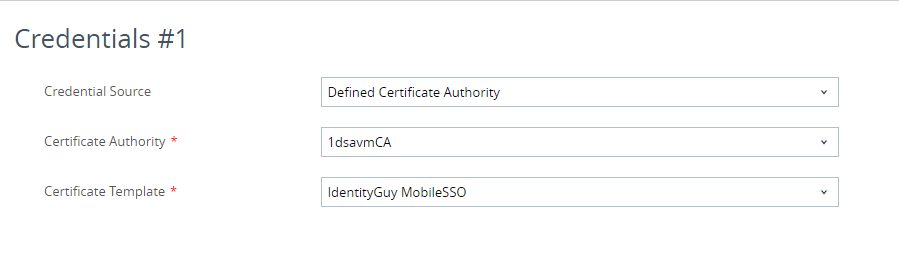
- Click the Credentials Tab
- Select Defined Certificate Authority
- Select your CA
- Selected your Mobile SSO Template
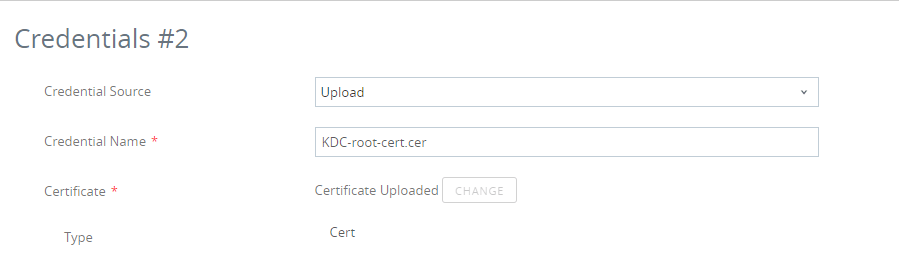
- In the bottom right, there will be +/- sign, click the + sign.
- Click the Upload button and upload the KDC Certificate we just downloaded in the previous step.
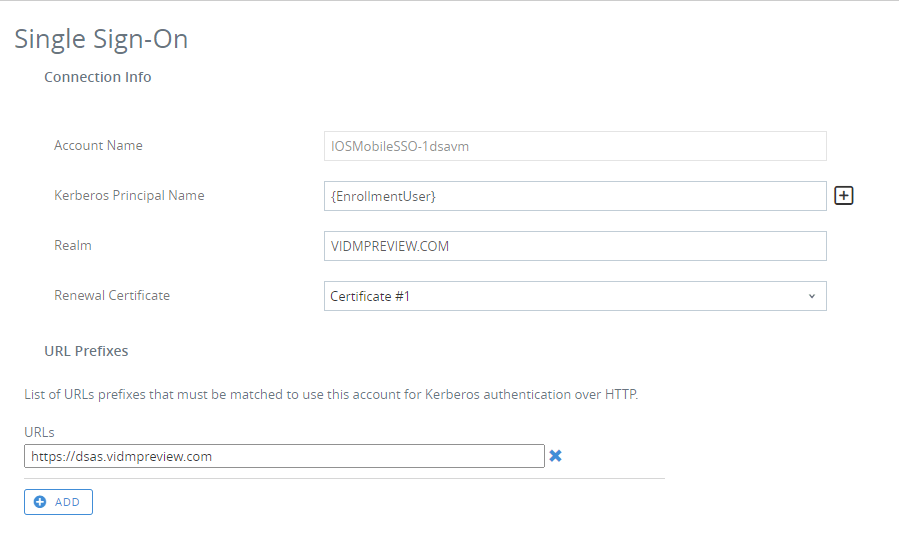
- On the left, select the Single-Sign-On Tab
- Provide an Account Name ie. IOS Mobile SSO
- For Kerberos Principal Name, enter “{EnrollmentUser}”
- For the realm, in all caps, enter the domain where your Workspace ONE Access tenant is hosted. Some values include:
- VIDMPREVIEW.COM
- WORKSPACEONEACCESS.COM
- VMWAREIDENTITY.COM
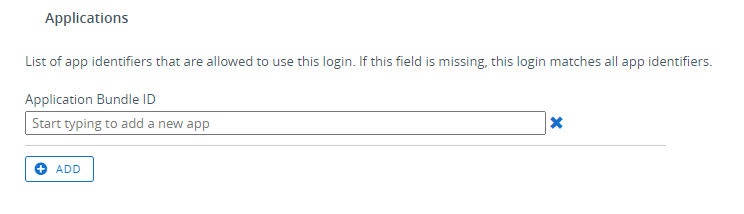
- Scroll down to Applications. In an non-production environment I recommend you leave this blank. Once you’ve completed all your testing you can optionally add your application bundle ID’s to limit which applications are allowed to use Mobile SSO. An example why you configure this is if you want your users to use Boxer for email but not allow Outlook.
- Click Save and Publish
- At this point, you want to make sure the Certificate is deployed to the device. Sometimes this can take a while in pending state. If you receive any errors, double check all your settings.
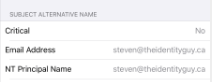
- Once your certificate is on the device, verify the SAN Attributes are correct:
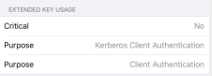
Verify that you EKU has the correct application policies:
Configuring Workspace ONE Access
- In the Workspace ONE Access administration console, go to Identity & Access Management -> Authentication Methods.
If you previously ran the Workspace ONE UEM Wizards, the “Mobile SSO (for iOS)” Authentication Method might already be enabled. If this is already enabled, we should delete the uploaded CA’s and replace it with your Root CA Certificate from ADCS. However, if you want to leave the Workspace ONE UEM CA, you can still do that so both CA’s co-exist. - Click the Pencil icon beside Certificate (cloud deployment)
- Click Enable
- Click Select File and upload your root CA Certificate.
- Click Save
